Created 15th April 2007. ©Copyright Tbab.co.uk
Property of Shelley Marlow
This tutorial is written
and made in Psp Version XI and assumes you have a working knowledge of Psp. It can be
made in earlier versions of Psp with a few adjustments, but for this tutorial I will
only be explaining how it was made in version XI.
You will need:-
Corel's PSP (free 30 day trial) which you can get here
Supplies zip file which you can get here
Scrap kit is by Suzi Sgai. Scroll down to the freebies section and the kit you need to download is called Mini Kit Tempo De Art (After Kit 05)
Tube of choice. Please respect artists work by only using images that you have permission to use.
I have used a tube by Joel Adams you need a licence to use his work which you can purchase here
Font - I used a font called Porkys which you can get here
Let's get started:-
Open a new image transparent 500 x 500 pixels
Create a new raster layer
Select your selection tool -
Selection type - Rectangle
Mode - Add
Feather - 0
Anti Alias unchecked
Draw out a rectangle in the center of your workspace
Flood fill it with white colour
Go to selections/modify/contract by 25
Keep selected
Create new raster layer, still keep selected
Open file name SS_Back03 that came in the supplies
Go to Edit/Copy
Go back to our rectangle shape
Go to Edit/Paste into selection. Lower the opacity of the layer to 60. Selections/select None. Merge the layer down
Go to Edit/3d effects/drop shadow 7,7,66, 3 and CDCDB8
repeat the step this time using
settings -3,-3,66, 3 and CDCDB8
Duplicate the layer. Go to Image/Free Rotate/ Right - 25.00
Turn off the top layer . Make Raster 2 layer active.
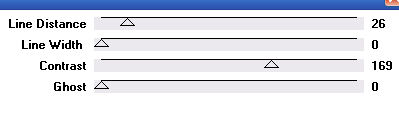
Go to effects/plugins/penta com/VTR2 use the default settings
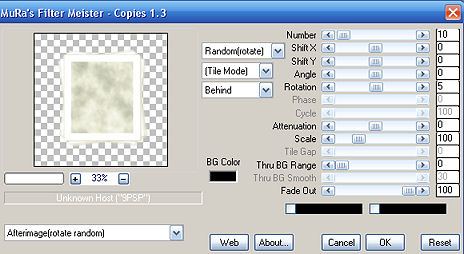
Go to effects/plugins/Muras Meister/Copies
Make sure you are now on your top layer, unhide it and create new raster layer
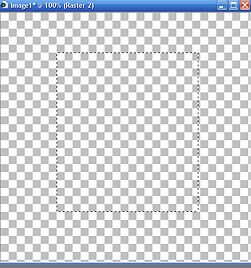
Using your selection Tool draw out a rectangle selection as per my screenshot
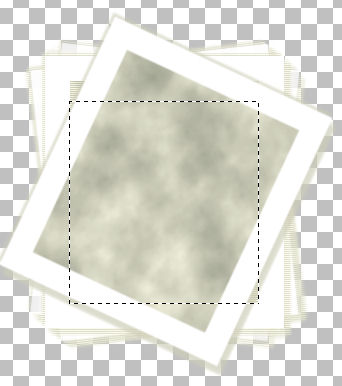
Before we go any further we are going to save this selection as we want to use the exact same size selection again.
Go to Selections/Load-Save selection/ Save selection to Alpha channel
Open Image SS_Back01 from the supplies pack go to edit/copy , click back on our working image and go to Edit/paste into selection
Selections/Modify/Contract by 15
Press Delete on your keyboard to take the centre out of your rectangle. Selections/select none
Go to Image/Free Rotate / Left 40
Add Drop shadow of Vertical/Horizontal 3, Opacity 25, Blur 3, Colour Black.
Repeat the drop shadow this time changing just the Horizontal setting to minus 3
Create new raster layer. Go to selections/load-save selection/load selection from alpha channel
Open image SS_Back02 from the supplies pack and go to edit/copy, click back on our working image and go to Edit/paste into selection
Selections/Modify/Contract by 15
Press Delete on your keyboard to take the centre out of your rectangle. Selections/select none
Repeat the drop shadow as we did for the last square above
Open image SS_Elastico from the supplies pack. Go to windows/duplicate and close the original.
Go to Image/ mirror then Image/flip and then Image/flip once more. Resize to between 27-30%, the size will depend on how big you have made your boxes intially. Go to Edit/copy, then back to your working image and paste as a new layer then position your elastic image if you need to.
In your layer pallette right click this layer Arrange/move down it should now be sitting in between your two rectangle layers
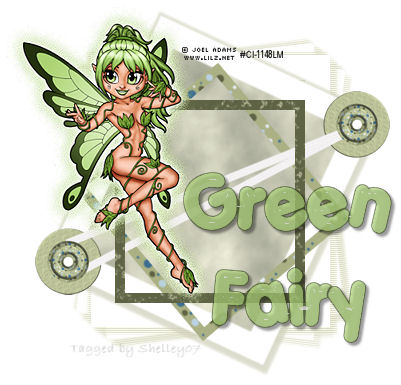
Next Open the tube you wish to use, Resize if necessary and place on your image. I have used a tube by Joel Adams.
Because of the tube I used already had a shadow on it, please add whatever drop shadow you think suits your tube.
Select two colours from your tube, Use the darker colour for your foreground I used #3c4f1f and use the lighter colour for your background #b0d57b.
Select your Font - I chose Porky's size 72. Stroke width 2
Convert to Raster layer. I then used Eyecandy5/Impact Glass effect. Then reduced the opacity of the layer to 71 to give it a see through effect.
Then add a dropshadow of vertical and horizontal 3 Opacity 65, Blur 3, Colour Black and put a checkmark in the shadow on new layer . (Dont forget when doing other tutorials you remove the checkmark )
On the shadow layer reduce the opacity down to 60.
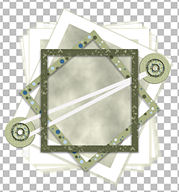
Crop your work to get rid of the excess space on your tag.
Dont forget to place your watermark on your work and add any releveant © details that are needed.
If you have any queries please dont hesitate to contact me:-

Please feel free to link to this tutorial, and/or print it out for your own personal use, but do not copy it in any way to put on-line, pass out, or re-write without my permission. Any resemblance to any other tutorial like this is purely coincidental.
Please respect my work by not claiming it as you own.
**NOTE--You may do anything you like with your results from these tutorials except make a profit from them. You got your results for free so let's keep it that way. Thank you! :o)
Created 17th April 2007. ©Copyright Tbab.co.uk
Property of Shelley Marlow
|
|