This tutorial was written using PSP 9 and presumes you have a working knowledge of psp.
You will need the following supplies :-
Jasc psp version 9. You can download a trial version
here
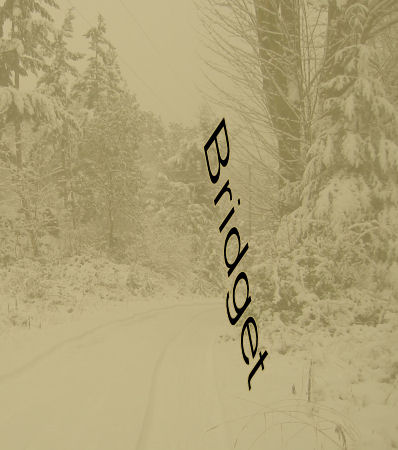
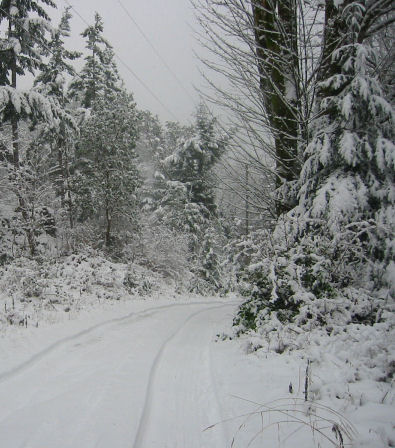
The beautiful winter scene
here.
The font I used for this is called adorable and you can get that
here
I have not included any tubes for this tutorial but I used outlaw design free tube from her site you can find her work
here
I was kindly given permission to use the beautiful winter scene photograph by Ian Jaxon, Thank You Ian
Ok lets get started, Open the winter scene and tubes up to your psp, minimize the font to your taskbar, minimize the tubes and we will be working on the winter scene
In you layer palette right click on background and promote to raster layer, layers, add new raster layer flood fill this layer with #c5b16f.
Move this layer down below the winter scene layer, now make sure you winter scene layer is the active layer and lower the opacity of this layer to 34 your picture should now look like this.
Now open up your tube right click and copy, close the original now as we wont be using it anymore, right click on your main image and paste as new layer
position the woman at the bottom left hand corner as shown below.
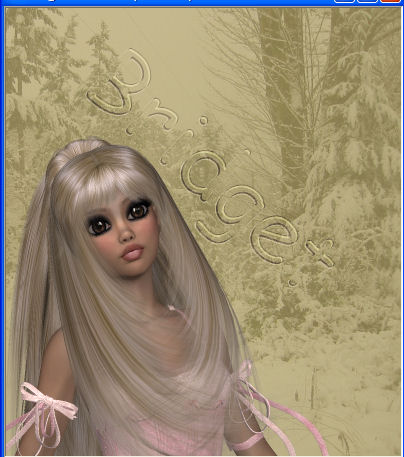
now duplicate the lady image and make sure the duplicate is the active image.
Now using your freehand tool we need to outline her eyes and lips, as careful as possible when you have all the features outlined
selections, invert and then hit delete once on your keyboard, then drop the opacity down to about 34.
Now we are going to colorize the eyes and lips. Click Adjust / Hue and Saturation/ Colorize and change Hue to 32 and saturation to 109.
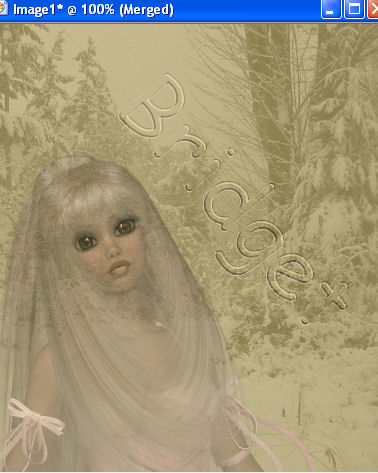
selections, select none. Now make sure the original lady layer is the active layer and drop the opacity of this one down to between 40 and 45.
now your picture should look something like this.
Now make sure one of the lady layers is highlighted and cross out the two bottom layers as shown
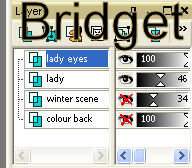
Now layers, merge, merge visible so now we should have 3 layers the coloured background, winter scene and lady.
If you are happy with where you have everything placed go to layers, merge, merge visible, we should now have one layer.
Click on your text tool and set the colours to foreground #c5b16f and background #d2cda5, set the font as shown.

Now click on your picture to fetch up the text box, type your text.
You will notice that the word love is to far away from the word with so to alter this we need to move it.
Click on your layer pallette on the vector layer the little plus sign at side of it this will open the layer,
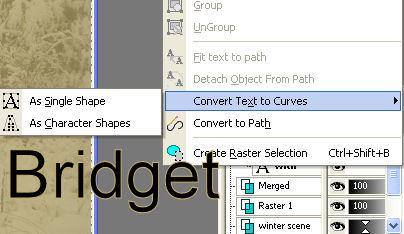
Click on As Character Shapes now we can highlight just the letters that make up the word love by holding in shift and clickin gon those letters.
Now you should have a box round those letters like this.
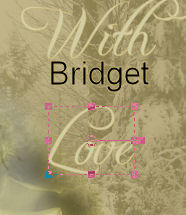
Now move this a little closer to the word with, now go back to the pallette and highlight all the letters so your box is round it all again.
Position it now where you want it on the picture. Right click on it and convert to raster layer.
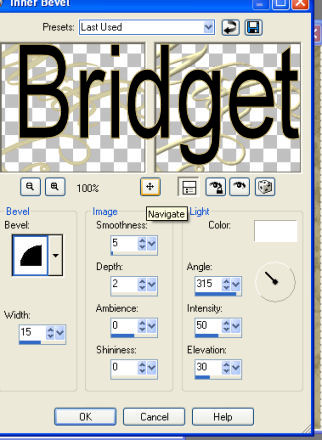
Now the text looks a little pale so we are going to add an innerbevel to it use the settings below.
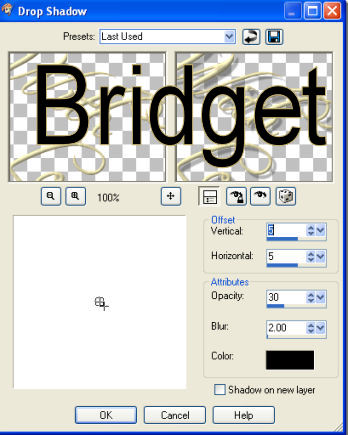
Now we are going to add a drop shadow to it. Use the settings below.
Layers, merge, merge visible. Ok this is starting to take shape now. We now need to add the borders, Image, add borders and use these settings.
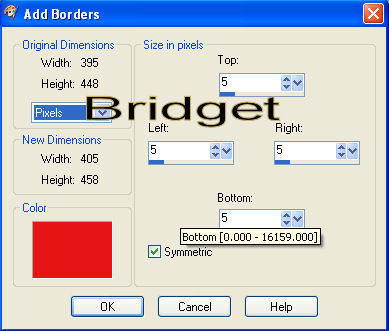
Now grab your magic wand and click in the border to select it now flood fill it with #d2cda5 now add an inner bevel using same settings as before, selections, select none.
Now add another border changing the size to 10 again grab your magic wand and click inside the border now flood fill this one with #c5b16f again inner bevel same settings,
selections, select none, We are going to add one more border changing the size back down to 5 , magic wand and flood fill with the first colour again. Inner bevel same settings.
Selections, select none.
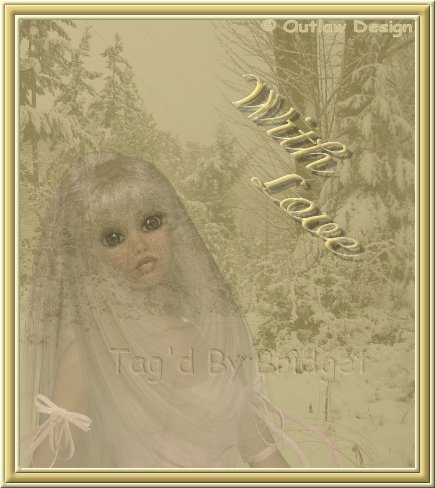
Now add the proper © credits and any watermarks you want to the picture and there you have it all done that wasnt so bad now was it.
Hope you enjoyed this tutorial, Thank you for trying it.