This tutorial was written using PSP 9 and presumes you have working knowledge of psp.
You will need the following supplies :-
Jasc psp version 9. You can download a trial version
here
There are no supplies with this tutorial you will need a nice tube of your own choice and the rest is all in psp itself.
Ok lets get started, Open your tube to psp, window, duplicate then close the original, (incase you ever need to use it again.)
Open a new image, 600 x 600 dont worry about the size of it we will crop and resize later.
Pick 2 colours out of your tube a dark colour and a light colour. And set these as your foreground and background.
Click on your preset shape tool find a shape you like I used Burst 3 but if you would like a different shape then go ahead and choose something different.
Use the settings below.

Now Drag out a shape on your canvas leaving a fair bit of space round the sides of it. So make it approx 400x400 pixels.
Now duplicate this layer and close the duplicated layer off by checking the little eye in the layer pallette.
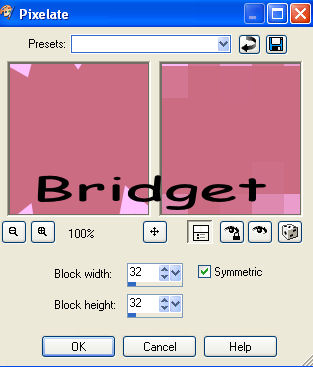
Make sure you are on your original shape layer, (layer 2). Click on effects, distortion effects, pixelate and use the settings below.
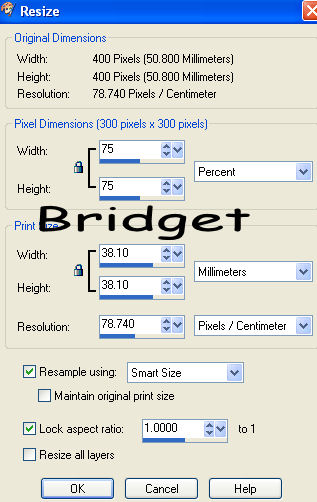
Make sure your top layer is active. The one you crossed out uncross it now so you can see it. We need to make this one smaller.
Click image, resize and use the settings below.
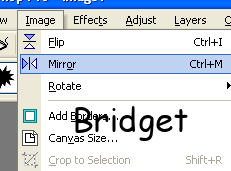
Now we are going to mirror this layer so its facing the opposite way, click image, mirror.
Using your mover tool move this layer into position, as you can see on mine I moved it down and to the right of the main picture.
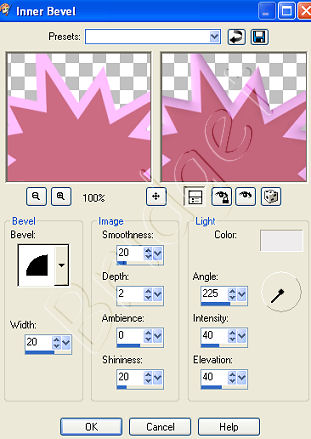
Still working on this layer go to effects, 3d effects inner bevel and use the settings below.
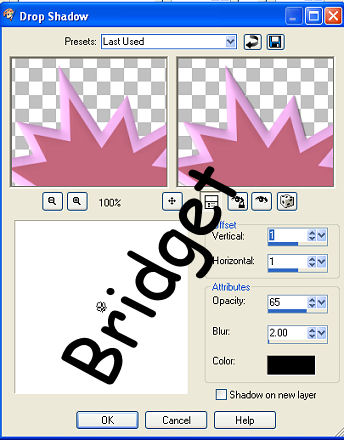
OK now we want to give both shapes a slight drop shadow use the settings below on both shape layers.
Now working again on the smaller shape, (the top layer) grab your magic wand and click inside the shape (this should select the middle colour only)
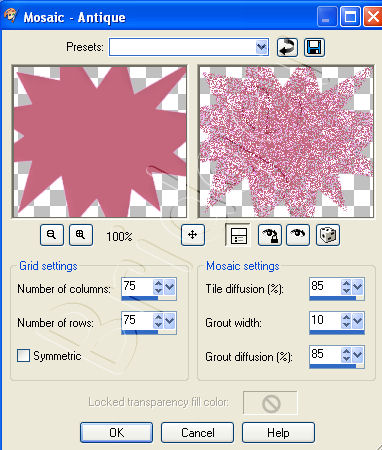
We are going to put a mosaic pattern into here so click on effects, texture effects, mosaic - antigue and use the settings below.
Selections , select none.
Ok now open your tube that you are using and copy, paste as new layer, resize if needed and drag this layer below layer 3.
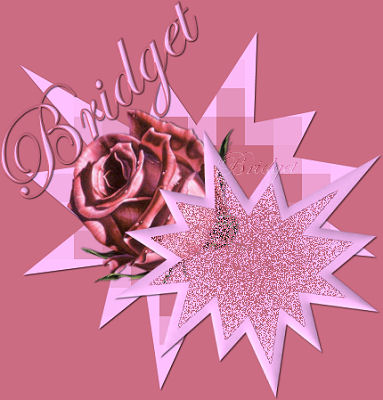
It should now be sat between the 2 shape layers as in my picture above. Give your tube layer the same drop shadow as you used on the shapes.
Now click on your top layer to make this the active layer and click on your text tool, Use any font you wish a script font is prettier I think but this is your tag so the choice is yours.
Make sure create on vector is checked and use a size approx 35 - 45 Click on your image and your text box will appear.
Type your text I have used my name you can type whatever you want.
using the nodes that appear when you click apply move your text into position and stretch it out a little if you wish to.
Right click on the layer in the layer pallette and convert to raster layer, Then click effects, 3d effects, inner bevel and use the same settings as before.
And again effects, 3d effects and use the same drop shadow .
Now you need to make your very bottom layer active. Grab your flood fill tool and flood fill with one of your colours you have chosen.
Add any watermarks to it as you wish. When you are happy with it click on layers, merge, merge visible.
Now click on image, resize, and make sure you have pixels showing not percentage and change it to 400 x 400 pixels all layers checked.
Click on adjust, sharpness, sharpen.
Now save your tag. There you go all done.
Thats it hope you enjoyed this tutorial. Thank you for trying it.